Setup Windows File Share for Citrix XenServer

Setup Share in windows

You may need to enable the Network Sharing and discovery in the network sharing center before proceeding with the following steps.

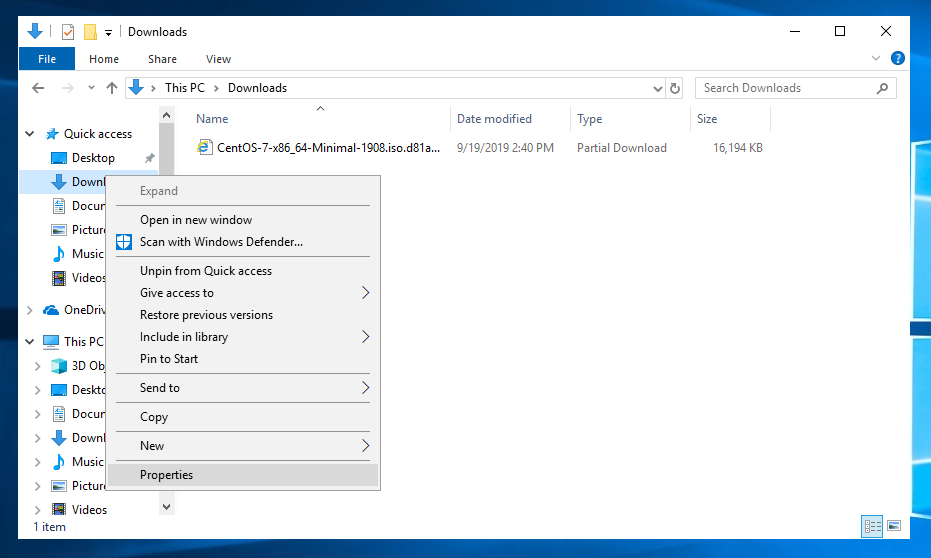
Create a new directory, right click and hit properties.
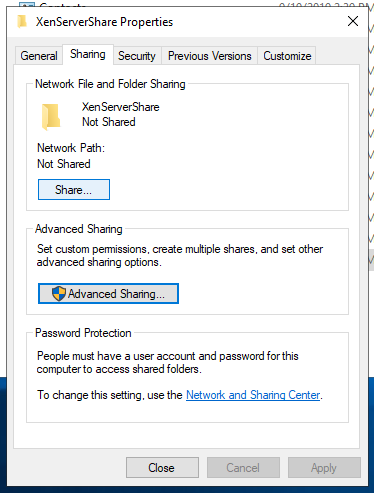
Under Sharing, hit Advanced Sharing…
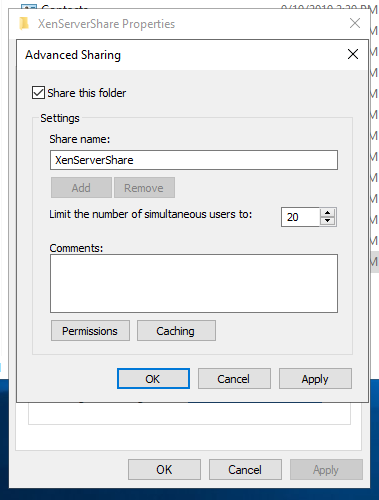
Enable the Check mark for “Share this folder” and verify the share name is correct. In this example we are sharing a folder called XenServerShare
Setup Share in XenCenter

From XenCenter, hit add new Storage Repository and run through the wizard. When you get to the Share path put in \\share-ip-address\Share\Path

Example: If the IP address of the computer with the Share is 192.168.1.2 and you shared your Downloads folder, the path would be as follows

\\192.168.1.2\Downloads

Use the share computers username and password to log in to it.

How To Reset root Password on CentOS VM – XenServer

Basic steps are as follows.

  1. Shutdown VM
  2. From XenCenter, insert the CentOS iso into the VM’s Virtual DVD drive.
  3. Boot the CentOS VM in recovery mode.  If you need help with that check this post out.
  4. On the grub menu, select recover OS Installation.
  5. Run through the recovery and mount the VM’s disk where CentOS is installed
  6. You should now be able to drop to a prompt and chroot /sysimage
  7. Change the root password with passwd
  8. Shutdown the VM
  9. Eject the CentOS iso
  10. Boot up the VM and login with the new password

Increase hard disk size on Windows VM in XenServer

To increase a Windows VM disk size you’ll first need to shut down the VM and then increase the disk size from XenCenter.  When you boot back up into the VM, the extra space shows up as unallocated.  All that needs to be done is the main partition needs to be extended.

Open up the Windows Disk Management Utility.  You can do this by clicking on the start button, typing in disk management and hit enter.  This will bring up the Disk Management program.

In disk manager, you should see the Unallocated space at the end of Disk 0, i.e. your main drive.  Right click on your main partition (C:) and click Extend Volume.  You will be presented with a wizard that will walk you through extending your disk.

Example:

Before increasing the VM’s disk size.

0

The unallocated space is the extra space that we added via XenCenter.  Right click on the middle partition (C:), and click extend.

1

After were are finished extending the partition, we see that our main partition is about 8GB larger.

3

How to Boot a XenServer VM into Recovery Mode

Recovery Mode can be helpful if you need to do certain task like operate on the VM with the disk unmounted or you need to reset a root password.

All of the following is done through XenCenter

To boot the VM into recovery mode all you have to do is

  1. Shutdown the VM
  2. Insert boot media i.e. (DVD, cd, iso image, etc.) into DVD Drive 1:
  3. Start VM in Recovery Mode.  In the main menu click on VM –> Start/Shut Down –> Start in Recovery Mode

When the VM boots up it will boot off of whatever is in DVD Drive 1.


How to add a NFS ISO Repository to XenServer

This assumes you have a NFS Share setup up.  If you do not you can follow this link.

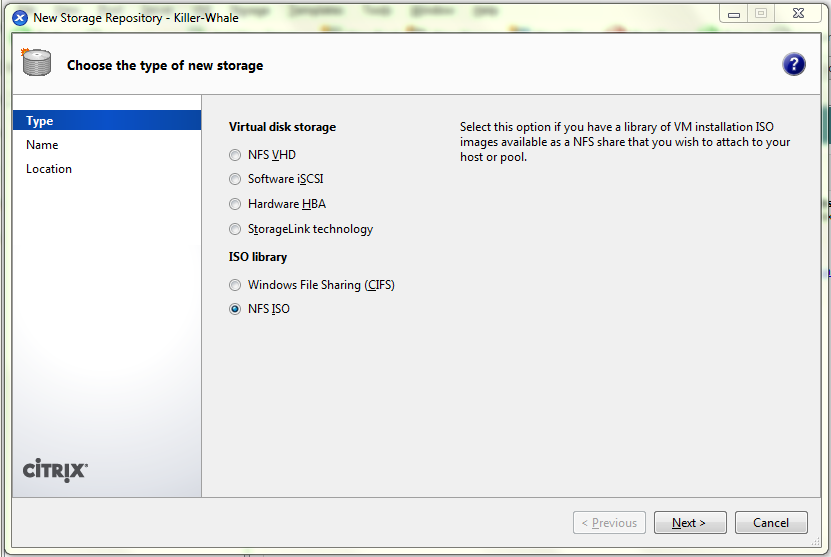
Open up XenCenter click on add storage device button on the top.

Select NFS iso and hit next.

Connect XenServer to NFS

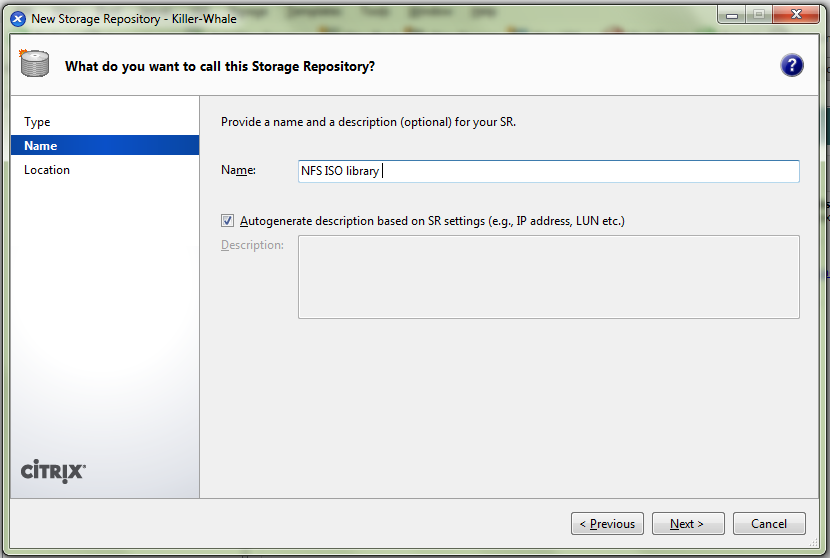
Enter in the name you want to call your repository
Connect XenServer to NFS 2

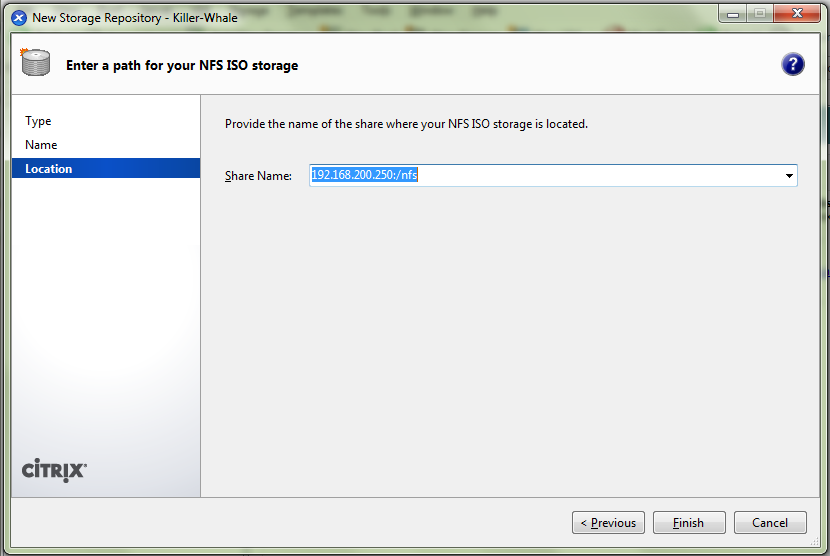
Next we add the share location which in my case is 192.168.200.250:/nfs  and hit Finish.

Connect XenServer to NFS 3

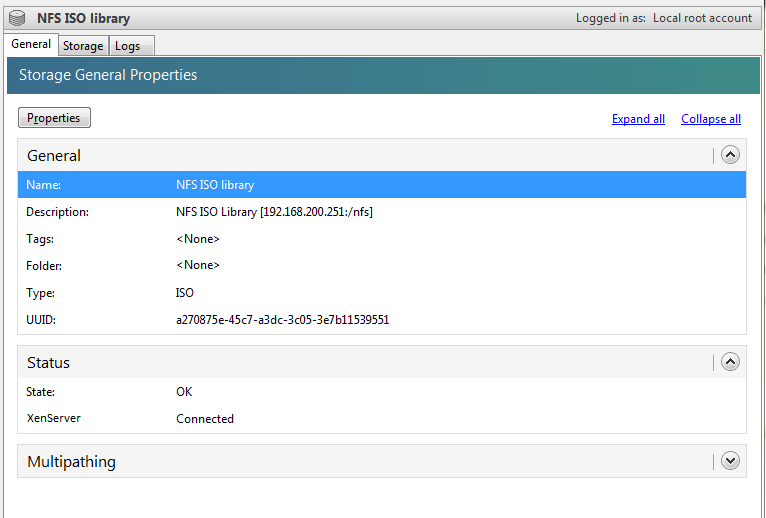
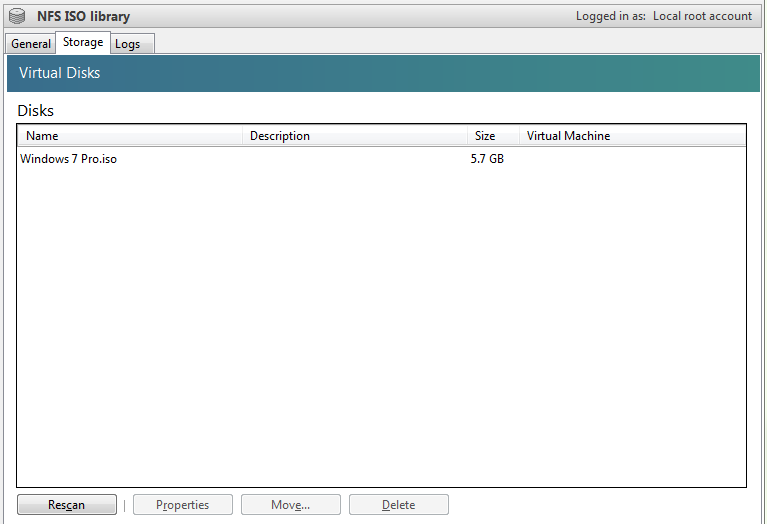
If all went well you should have a new NFS ISO repository

Connect XenServer to NFS 5

Connect XenServer to NFS 6