While the UniFi controller is nice and everything, it does make it hard to see if a device is already adopted. At least if you have a ton of sites. Fortunately, we can search the database directly to find out if a UniFi is already adopted and which site it is assigned to.
Connect to Mongo DB
First we need to connect to MongoDB. And then we need to use the ace database.
mongo -port 27117
use ace
List all the devices on the controller
This command will list all the devices on the controller. Regardless of which site they are assigned to.
db.device.find({}, { site_id:"", ip : "", name :"", mac:""})
Now we can extract the zip archive. You can do this on Windows, macOS, or Linux through the GUI or you can extract with
sudo unzip autobackup_6.2.33.zip -d unifi
This will extract all the files and folders to a directory named unifi.
cd unifi
Dump database to JSON
You should now see the db.gz file. This is a compressed archive of the database in BSON (Binary JSON) format. We can use the mongo-tools to convert this to a more human readable JSON format.
sudo apt install mongo-tools
Now we can extract the archive and pipe it through bsondump.
gunzip -c db.gz | bsondump
You can run it through grep to filter out what you need.
You can also dump the db to a json file with
bsondump --bsonFile=db --outFile=db.json
More notes on the decrypt script.
The decrypt script is really simple. It looks like it uses a key to decrypt the UniFi backup and then puts all the contents into a zip file. There is also an encryption script. Theoretically you can decrypt, make changes to the config and then reencrypt and restore to a server.
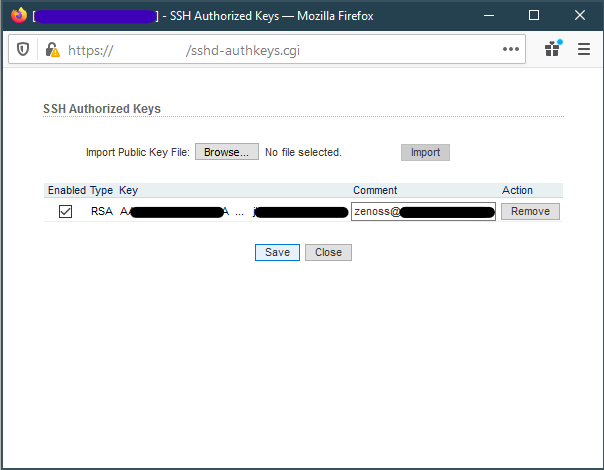
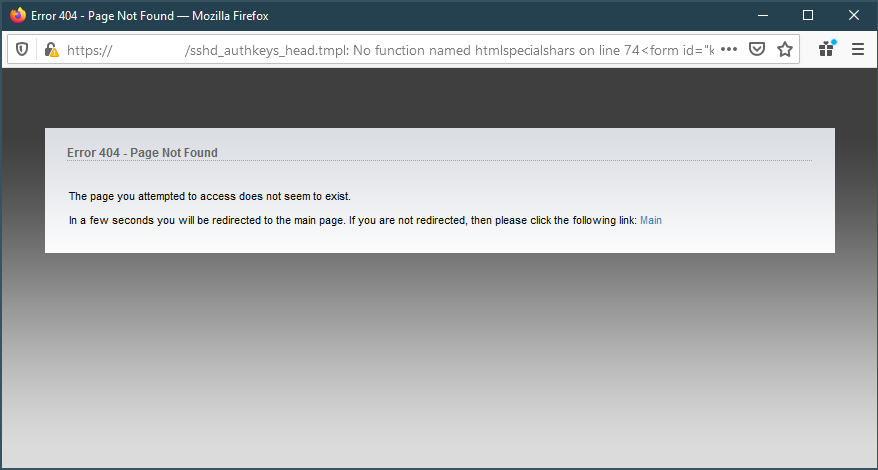
For some reason I ran into an issue where I can not remove authorized SSH Keys in AirOS version 6.3. It redirects to a 404 page and then to the main page.
Attempting to remove SSH keys in AirOS404 Error while attempting to remove SSH keys
Thankfully, we can still remove the authorized keys from the command line. For more information on making changes over SSH, refer to the following post.
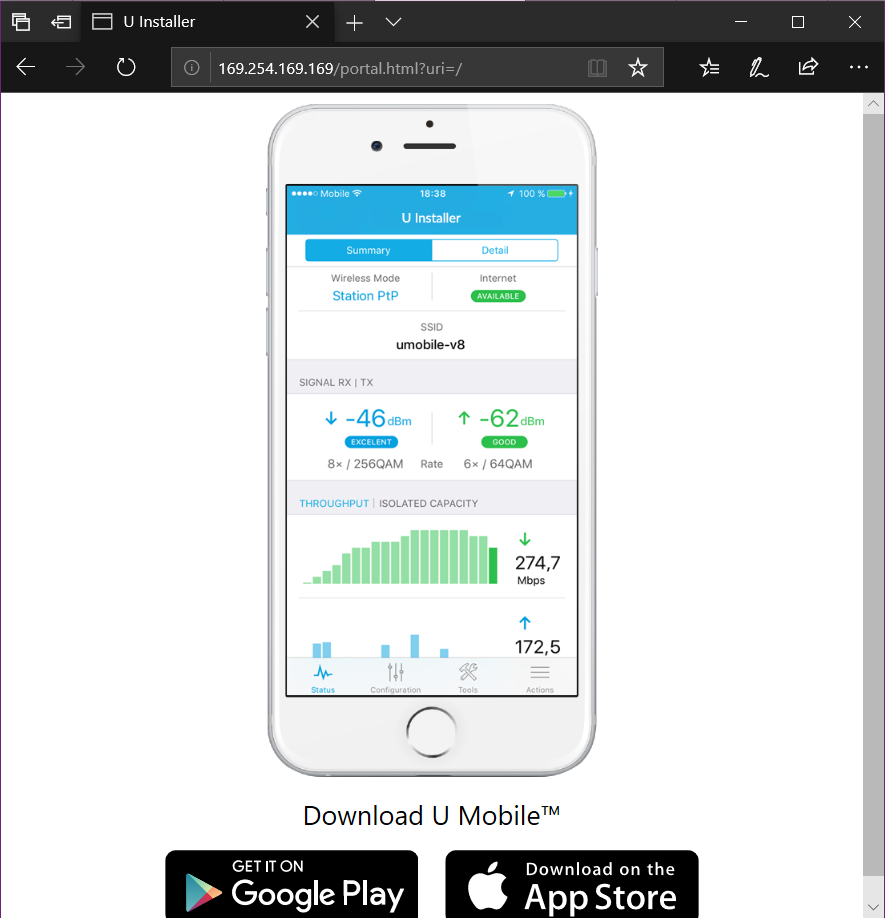
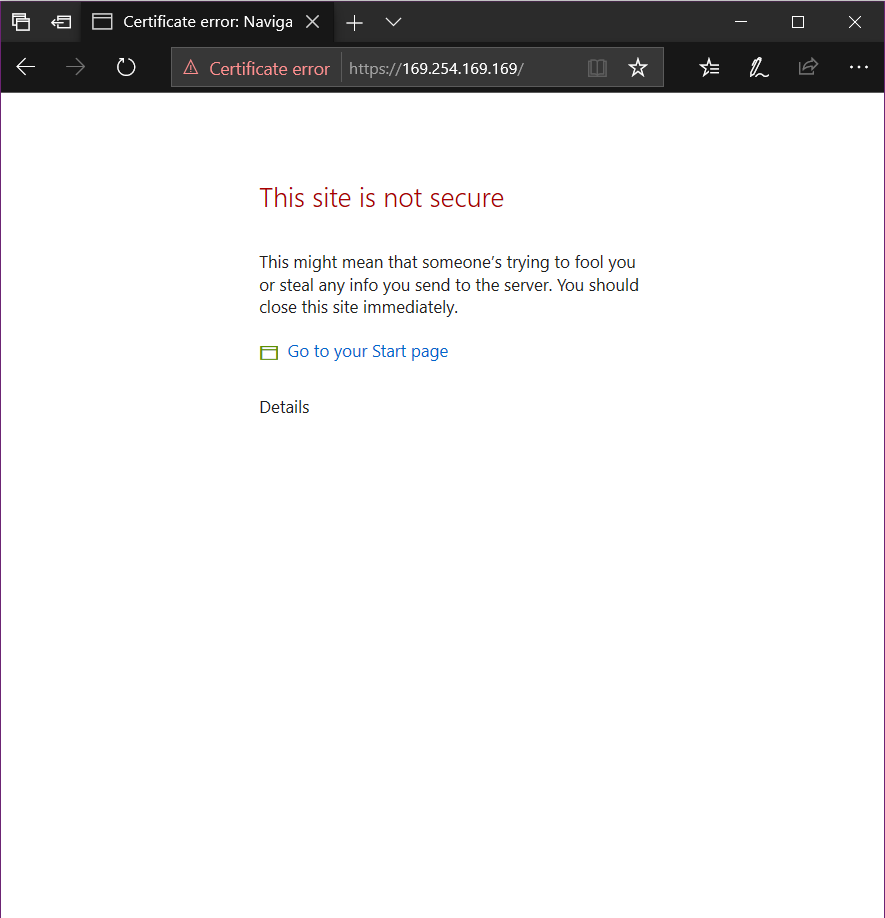
By default the U Installer redirects you to a page asking you to download the app. You can get to the actual U Installer web page by going to https://169.254.169.169
Default U Installer PageAccess U Installer Certificate Error
It has the same interface as a regular Airmax M equipment.
Recently upgraded a UniFi-Video VM by creating a new VM and restoring the backup from the previous one. There was a separate virtual disk used for storing all the videos. Although once I reattached it, I had to change the owner to the unifi-video user. lt was reporting that the owner/group was 127 and 134, looks like that was the user ID from the previous VM.
The passwd command is normally used for changing the password for a Linux user. We’ll use it to change our user password and then copy the hash out of the /etc/passwd file to use in the Ubiquiti config file.
UVC.v4.18.37.67# passwd
Changing password for admin
New password:
Retype password:
passwd: password for admin changed by admin
UVC.v4.18.37.67#
Copy passwd hash to /tmp/system.cfg
Using “cat /etc/passwd”, we can get what the new password hash is and can copy that into the /tmp/system.cfg file.
As a side note, you can copy and past all of the “users.1.*” lines and change the 1 to 2 and have a second user.
Apply Changes
You can use the following command to write the changes and then reboot the camera.
cfgmtd -f /tmp/system.cfg -w && reboot
Long Example
[admin@localhost ~]$ ssh ubnt@10.96.1.91
ubnt@10.96.1.91's password:
BusyBox v1.29.2 () built-in shell (ash)
UVC.v4.18.37.67# passwd
Changing password for admin
New password:
Retype password:
passwd: password for admin changed by admin
UVC.v4.18.37.67# cat /etc/passwd
admin:$6$K4VfN1jGcxaX63Eo$yMGBg7jgCCg.HorkmkQf9wnQcEko.1onZcAa6ua421LonYgfYr8FgHprrwkMqaTYzH0KqCtOEPqDlB3AvkvcW.:0:0:Administrator:/etc/persistent:/bin/sh
UVC.v4.18.37.67# vi /tmp/system.cfg <- Edit the text file and replace the hash with the one from above
UVC.v4.18.37.67# cfgmtd -f /tmp/system.cfg -w && reboot
ssh ubnt@192.168.1.20  <- Replace with username and IP address
cd /tmp
wget http://dl.ui.com/firmwares/airfiber11X/v4.1.0/AF11.v4.1.0.bin
mv AF11.v4.1.0.bin fwupdate.bin
/sbin/fwupdate -m
Upload the firmware using FTP or SCP to the /tmp directory
larry@localhost:~$ sudo tail -f /home/unms/data/logs/unms.b5a3713b02f71e06fb3a84a3a9a75c558.log
{"msg":"setting permissions on /home/app/unms/data/control","name":"unknown","hostname":"unknown","pid":0,"v":0,"level":30,"tag":"unms","time":"2020-04-17T16:28:35+00:00"}
{"msg":"Linking /home/app/unms/public/site-images -> /home/app/unms/data/images","name":"unknown","hostname":"unknown","pid":0,"v":0,"level":30,"tag":"unms","time":"2020-04-17T16:28:35+00:00"}
{"msg":"Linking /home/app/unms/public/firmwares -> /home/app/unms/data/firmwares","name":"unknown","hostname":"unknown","pid":0,"v":0,"level":30,"tag":"unms","time":"2020-04-17T16:28:35+00:00"}
{"msg":"Stepping down from root: su-exec \"/usr/local/bin/docker-entrypoint.sh\" \"index.js\"","name":"unknown","hostname":"unknown","pid":0,"v":0,"level":30,"tag":"unms","time":"2020-04-17T16:28:35+00:00"}
{"msg":"Running docker-entrypoint index.js","name":"unknown","hostname":"unknown","pid":0,"v":0,"level":30,"tag":"unms","time":"2020-04-17T16:28:35+00:00"}
{"msg":"Version: 1.1.6+e6ec4747d.2020-03-13T10:52:14+01:00","name":"unknown","hostname":"unknown","pid":0,"v":0,"level":30,"tag":"unms","time":"2020-04-17T16:28:35+00:00"}
{"msg":"Waiting for database containers","name":"unknown","hostname":"unknown","pid":0,"v":0,"level":30,"tag":"unms","time":"2020-04-17T16:28:35+00:00"}
{"msg":"psql: fe_sendauth: no password supplied","name":"unknown","hostname":"unknown","pid":0,"v":0,"level":30,"tag":"unms","time":"2020-04-17T16:28:35+00:00"}
{"msg":"nc: bad address 'unms-redis'","name":"unknown","hostname":"unknown","pid":0,"v":0,"level":30,"tag":"unms","time":"2020-04-17T16:28:35+00:00"}
Stop UNMS
sudo ~unms/app/unms-cli stop
Start UNMS
sudo ~unms/app/unms-cli start
Fix Redis AOF
sudo ~unms/app/unms-cli fix-redis-aof
Running the above command resolved the problem and let UNMS start working.
larry@localhost:~$ sudo ~unms/app/unms-cli stop
larry@localhost:~$ sudo ~unms/app/unms-cli fix-redis-aof
Creating network "unms_internal" with the default driver
Creating network "unms_public" with the default driver
Creating unms-fluentd
The AOF appears to start with an RDB preamble.
Checking the RDB preamble to start:
[offset 0] Checking RDB file --fix
[offset 26] AUX FIELD redis-ver = '5.0.5'
[offset 40] AUX FIELD redis-bits = '64'
[offset 52] AUX FIELD ctime = '1587130996'
[offset 67] AUX FIELD used-mem = '276217328'
[offset 83] AUX FIELD aof-preamble = '1'
[offset 85] Selecting DB ID 0
[offset 80304063] Checksum OK
[offset 80304063] \o/ RDB looks OK! \o/
[info] 3307 keys read
[info] 0 expires
[info] 0 already expired
RDB preamble is OK, proceeding with AOF tail…
0x 79b7264: Expected prefix '*', got: '
AOF analyzed: size=127631360, ok_up_to=127627876, diff=3484
This will shrink the AOF from 127631360 bytes, with 3484 bytes, to 127627876 bytes
Continue? [y/N]: Successfully truncated AOF
larry@localhost:~$ sudo ~unms/app/unms-cli start
On the forums they seemed to recommend stopping the service and running
sudo ~unms/app/unms-cli rewrite-redis-aof
I was getting the following error when trying to run this command. Running the above command worked though.
larry@localhost:~$ sudo ~unms/app/unms-cli stop
larry@localhost:~$ sudo redis-check-aof --fix ~unms/data/redis/appendonly.aof
The AOF appears to start with an RDB preamble.
Checking the RDB preamble to start:
[offset 0] Checking RDB file --fix
--- RDB ERROR DETECTED ---
[offset 9] Can't handle RDB format version 9
[additional info] While doing: start
[additional info] Reading type 0 (string)
[info] 0 keys read
[info] 0 expires
[info] 0 already expired
RDB preamble of AOF file is not sane, aborting.
larry@localhost:~$