Unity Fails to Build iOS Game due to “LocationService” being used

Ran into an interesting problem while trying to compile a Unity project for iOS. It failed to build because

“LocationService class is used but Locations Usage Description is empty. App will not work on iOS 10+.
UnityEngine.GUIUtility:ProcessEvent (int,intptr,bool&)”

LocationService class is used but Locations Usage Description is empty

Well as far as I know there is not anything calling or requesting location services. I probably could have just put a reason for requesting the service under the build options in Project Settings. But why “use” something we don’t need?

Using the handy grep tool from a terminal, I was able to search through the project for “LocationService” and that returned a couple hits for files in the PlayMaker folder.

Looks like PlayMaker has a couple preconfigured “scripts” for Starting, Stopping, and Requesting Location.

Deleting the following four C# files resolved the error and it built fine afterwards.

GetLocationInfo
StopLocationServiceUpdates
StartLocationServiceUpdates
ProjectLocationToMap

You can find these files in your project under Assets > PlayMaker > Actions > Device

Differences between Windows Explorer and macOS Finder

The idea behind this post is to explore some of the differences between both File Explorer and Finder and bring out some of the Pros and Cons of each. They both accomplish the task they need to, so which one is “better” is largely going to be up to your personal preference.

Copying, Moving Files

Finder

Deleting multiple files results in a list of files waiting to be deleted till the first task gets completed. Can cause issues if the first folder you are trying to delete has some file that is not available or something and holds up the rest of the deletes till you confirm, skip etc.

File Explorer

I personally really like being able to see the speed the file(s) are transferring at.

Sorting Files and Navigation

Both file browsers sort files and folders differently by default. Note, it looks like recent versions of Windows have changed this to be similar to like it is in Finder.

Finder – List folders and files together
Explorer – Generally folders are at the top, files underneath

I have mixed feelings on this. At times I do like that all my folders are at the top so when I am navigating somewhere I don’t have to go scrolling down to locate them. However it is nice to have them together alphabetically so if you comparing if you have a zipped and unzip file, they are right next to each other.

I do like in Finder how you can view the hierarchy side by side in columns. Makes navigating the filesystem easy.

Other random notes

Finder

Pros

CMD + Shift + G is super handy and nice that it has tab completion.

Zipping and unzipping files is awesome and simple in Finder. Don’t have to go through any “complicated process” of unzip file, pick location, unzip and open that location and now you have two windows open etc.

Cons

Doesn’t give you a warning when you are about to open up a ton of files that will slow your computer down.

I seem to have random issues with Finder when working with external drives. Seems like using the command line to run a rm command can be faster then deleting in Finder. Not sure if it is a Finder issue or my extra drives.

Explorer

Pros

Generally very powerful. Lots of options.

I like how the properties option is at the bottom of the menu when you right click on a file.

Gives you a warning or just doesn’t open the files when you select a ton of files and hit enter

Cons

Can be slow when there are tons of files in a folder which can be extremely frustrating.

It is interesting the differences between MacOS and Windows. Apple it seems limits what they work on and do a good job what they do work on. However there are those cases where it appears that they didn’t try programming any safe guards in (i.e. No warning about opening up a ton of files at once).

At the end of the day both Windows Explorer and macOS Finder work well and get the job done.

Links on sending/receiving imessages with applescript or bash

https://apple.stackexchange.com/questions/331468/bash-script-detect-received-imessage-along-with-its-contents

Command line program to send imessage messages
https://github.com/linjunpop/imessage

Chat bot
https://github.com/ZekeSnider/Jared

Run bash commands from Applescript
https://www.cyberciti.biz/faq/mac-osx-applescript-run-shell-script/

Applescript Documentation archive
https://developer.apple.com/library/archive/documentation/AppleScript/Conceptual/AppleScriptLangGuide/introduction/ASLR_intro.html

How to view hidden EFI partition on Mac drive

Open a terminal and run the following command to list your hard drives

diskutil list

It should return something similar to the following

bobs-MacBook:~ bob$ diskutil list
/dev/disk0 (internal, physical):
   #:                       TYPE NAME                    SIZE       IDENTIFIER
   0:      GUID_partition_scheme                        *1000.1 GB  disk0
   1:                        EFI EFI                     209.7 MB   disk0s1
   2:                  Apple_HFS Macintosh HD            999.1 GB   disk0s2
   3:                 Apple_Boot Recovery HD             650.0 MB   disk0s3

/dev/disk2 (external, physical):
   #:                       TYPE NAME                    SIZE       IDENTIFIER
   0:      GUID_partition_scheme                        *8.0 GB     disk2
   1:                        EFI EFI                     209.7 MB   disk2s1
   2:                  Apple_HFS Install macOS Sierra    7.0 GB     disk2s2

bobs-MacBook:~ bob$

From above we see that the EFI partition on the main drive is disk0s1.

Make a directory for it to mount to

sudo mkdir /Volumes/TMPEFI

Mount it.

sudo mount -t msdos /dev/disk0s1 /Volumes/TMPEFI

It should now show up in finder for you to browse.

To unmount it simple eject it in Finder, or use one of the following commands

umount /Volumes/TMPEFI
diskutil unmount /Volumes/TMPEFI

How to Create a Bootable macOS USB drive for Hackintosh with Clover

Whats needed

  1. Bootable macOS USB drive (Guide here)
  2. Clover (Download here, or on source forge)
  3. Computer running macOS to run clover from

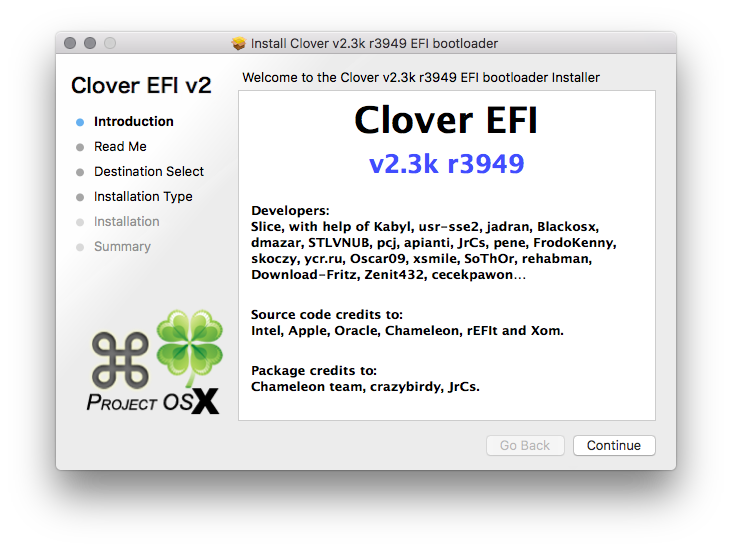
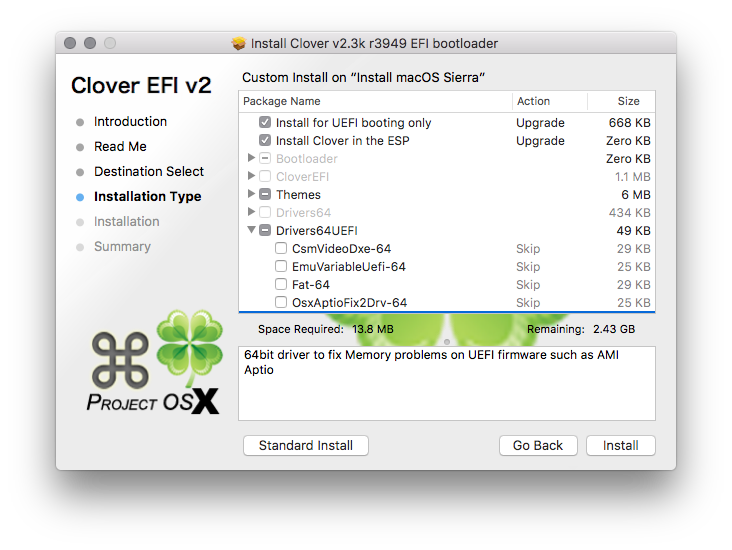
Plug the drive into your Mac, or current Hackintosh and launch the Clover installation package you downloaded from above.  Click Continue

macos-clover-install-1

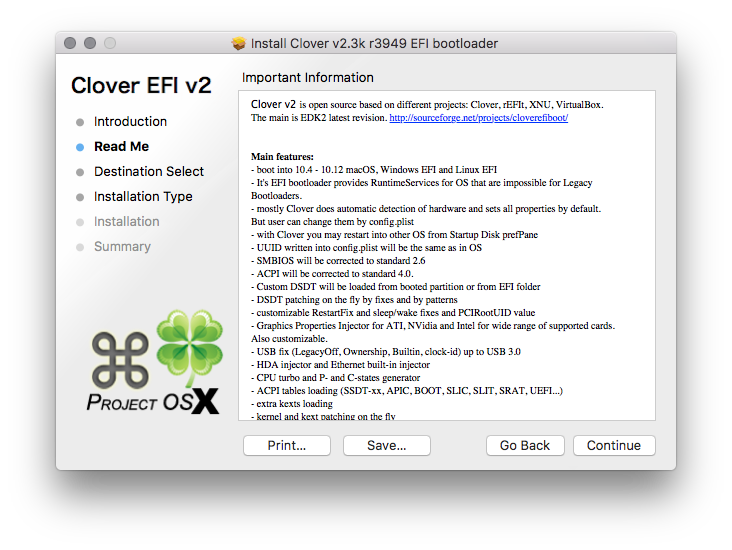
And continue again.macos-clover-install-2

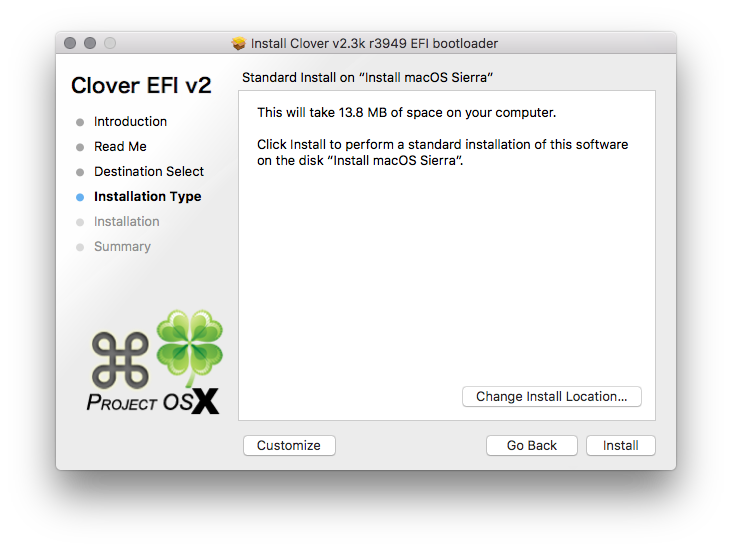
Select “Change Install Location”macos-clover-install-3

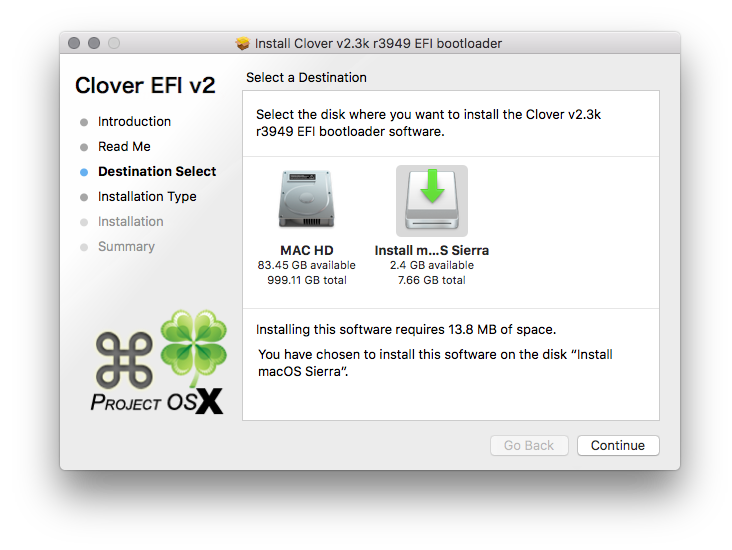
Select your macOS Sierra Drive.  NOT YOUR main OS drivemacos-clover-install-4

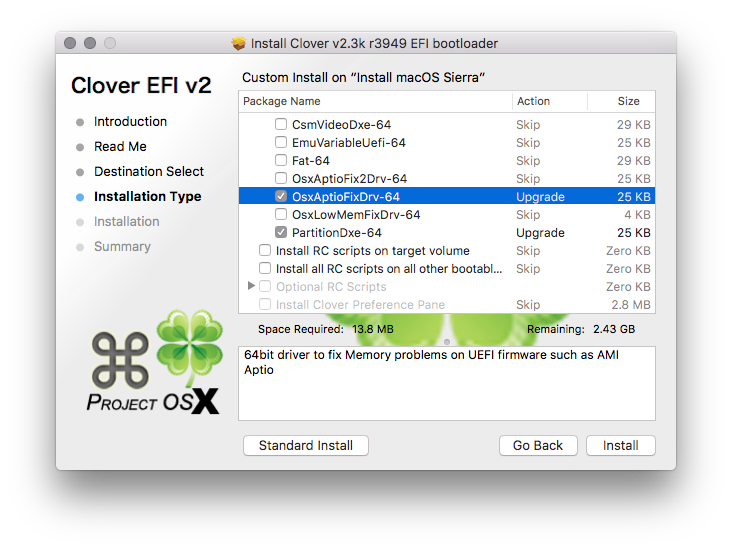
Hit Continue, it’ll take you back to the screen before, now select Customize on the left and select the following options.macos-clover-install-5 macos-clover-install-6

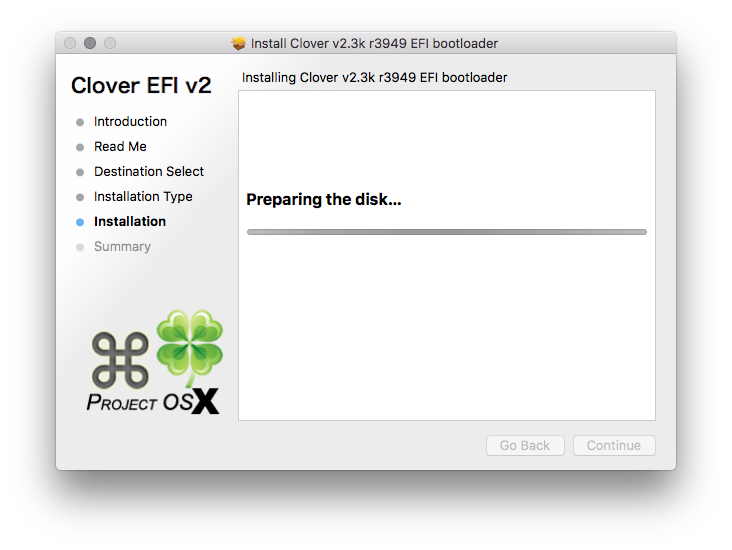
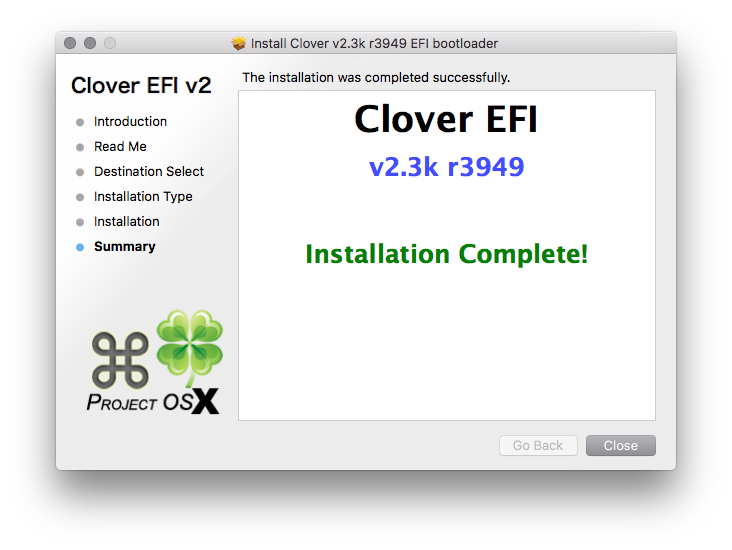
Now Install.macos-clover-install-7 macos-clover-install-8

You should now be able to boot the USB on a PC.  You will need to change the settings on the PC to boot using EFI, and make sure your hardware is compatible.


Create Bootable macOS Sierra drive

You’ll need the following

  1. USB drive 8GB+
  2. macOS Sierra

The easy way to create a bootable macOS drive is by executing the following command.  This assumes your USB drive is named USBDrive and your macOS Sierra installer is in the Applications folder.  Change if needed.

sudo /Applications/Install\ macOS\ Sierra.app/Contents/Resources/createinstallmedia --volume /Volumes/USBDrive --applicationpath /Applications/Desktop/Install\ macOS\ Sierra.app

It’ll ask you for confirmation and then proceed to wipe the USB drive and put macOS on it.  Do note that it will erase the contents of the drive, so make sure you don’t have anything important on it.

Non interactive

You can add the option “–nointeraction” to have it not ask for confirmation.

Example :

sudo /Applications/Install\ macOS\ Sierra.app/Contents/Resources/createinstallmedia --volume /Volumes/USBDrive --applicationpath /Applications/Desktop/Install\ macOS\ Sierra.app --nointeraction


Installing macOS Sierra on Alienware 18 – Notes

Note : This is not a complete guide to Installing macOS Sierra on an Alienware, mainly just some notes for now.  Everything here should apply to the Alienware 14 and 17, and maybe some of the newer ones 15 R1, 17 R2, etc.

You will need to either patch the kernel for the Haswell CPU, or enable it from clover when booting up.   If you don’t, the system will reboot on start up (See Troubleshooting section).

You may need to boot with the nv_disable=1 option if you don’t have a supported nvidia card

Creating the Boot Drive

  • Download macOS Sierra
  • Download Clover (Download from SourceForge, or here)

Create the boot drive just like you normally would and then run clover.  When you install Clover, be sure to CHANGE THE INSTALL LOCATION to the USB drive.

Also select the following options when installing clover.

  • Install for UEFI booting only
  • Install Clover in the ESP
  • Drivers64UEFI
    • OsxAptioFixDrv-64


After that is finished, you should be good to go.  Setup the Alienware BIOS for UEFI, and boot from the USB drive.  Install like you normally would.

POST Install

More coming later…

Troubleshooting

Alienware reboots after selecting the macOS drive in Clover.
Issue is related to the unpatched kernel for Haswell.

Fix :

  1. Once you get to clover, hit “o” this will give you the options menu
  2. Select “Binaries patching->
  3. Select “Kernel PM Patch
  4. Go back to the main menu
  5. Select the macOS drive and hit “Space Bar”
    1. Select the other options you want i.e.(safe mode, nv_disabled, etc.), and hit “Boot macOS with selected options

Black screen after selecting the macOS boot drive
Looks like the issue is some sort of incompatible hardware.  I had a wifi card that was causing trouble.

Fix:

Disable wireless card in BIOS.

Kernel Panic
Could be any number of things:(

Things to try,

Boot in safe mode

  1. Boot to clover
  2. Select the macOS drive
  3. Hit the “Space Bar”
  4. Select the option that says “Safe mode”
    1. Hit “Boot with selected Options”

How to reset Minecraft Demo timer without resetting the World – MacOS

Open up Finder and hit the Shift, Command, and “G” key simultaneously and then type in ~/Library/Application Support/minecraft/saves/Demo_World and hit return.

This should put you in your Demo World minecraft directory.

Now delete the “level.dat” and “level.dat_old” files and restart minecraft.  Your time should now be reset… As well as your Objectives.