Bash random sleep timer

Change the 10 to however many seconds you need or want.

echo $(( ( RANDOM % 10 ) +1 ))

Example output

bob@localhost:~$ echo $(( ( RANDOM % 10 ) +1 ))
10
bob@localhost:~$ echo $(( ( RANDOM % 10 ) +1 ))
2
bob@localhost:~$ echo $(( ( RANDOM % 10 ) +1 ))
9
bob@localhost:~$ 

Sleep timer

sleep $(( ( RANDOM % 10 ) +1 ))

kubuntu-desktop : Depends: software-properties-kde but it is not going to be installed

Try installing software-properties-kde and get

The following packages have unmet dependencies:
  software-properties-kde : Depends: python3-software-properties (= 0.96.24.32.11) but 1.8.8 is to be installed
 E: Unable to correct problems, you have held broken packages.

Try to install python3 from the bionic from bionic-updates

sudo apt install -t bionic-updates python3-software-properties

Install software-properties-kde

sudo apt install software-properties-kde

If it fails try force installing it

sudo dpkg -i --force-overwrite /var/cache/apt/archives/software-properties-kde_0.96.24.32.11_all.deb

Install Kubuntu desktop

sudo apt install kubuntu-desktop

More info here
https://pravin517.wordpress.com/2019/07/14/kubuntu-desktop-depends-software-properties-kde-but-it-is-not-going-to-be-installed/

Install KDE on Linux Mint 19.2

First add the following repo

sudo add-apt-repository ppa:kubuntu-ppa/backports

Make sure you are updated and upgraded

sudo apt-get update && sudo apt-get dist-upgrade

And if needed do a reboot

sudo reboot

Install the KDE desktop

sudo apt install kubuntu-desktop

Log out, select Plasma and log back in.

https://computingforgeeks.com/how-to-install-kde-plasma-desktop-on-linux-mint-19/

Setup DHCP server on Linux

Install dhcp server software

sudo apt install isc-dhcp-server

Edit the following config file and set the networking interface it should use. In this case enp60s0

sudo vi /etc/default/isc-dhcp-server

Example line to change

INTERFACESv4="enp60s0"

Now edit the dhcpd.con file

sudo vi /etc/dhcp/dhcpd.conf 

Add the following in. Change the addresses and settings as needed.

subnet 192.168.47.0 netmask 255.255.255.0 {
   range 192.168.47.26 192.168.47.30;
   option domain-name-servers ns1.internal.example.org;
   option domain-name "internal.example.org";
   option subnet-mask 255.255.255.0;
   option routers 192.168.47.1;
   option broadcast-address 192.168.47.255;
   default-lease-time 600;
   max-lease-time 7200;
 }

Set a static ip on the computer that’ll be acting as the dhcp server. You can set it as the gateway if it is the gateway.

Allow dhcp through the firewall

sudo ufw allow  67/udp
sudo ufw reload
Restart the service and connect a client.

sudo systemctl restart isc-dhcp-server

More info.

You can look at dhcp leases with the following command

tail -f /var/lib/dhcp/dhcpd.leases
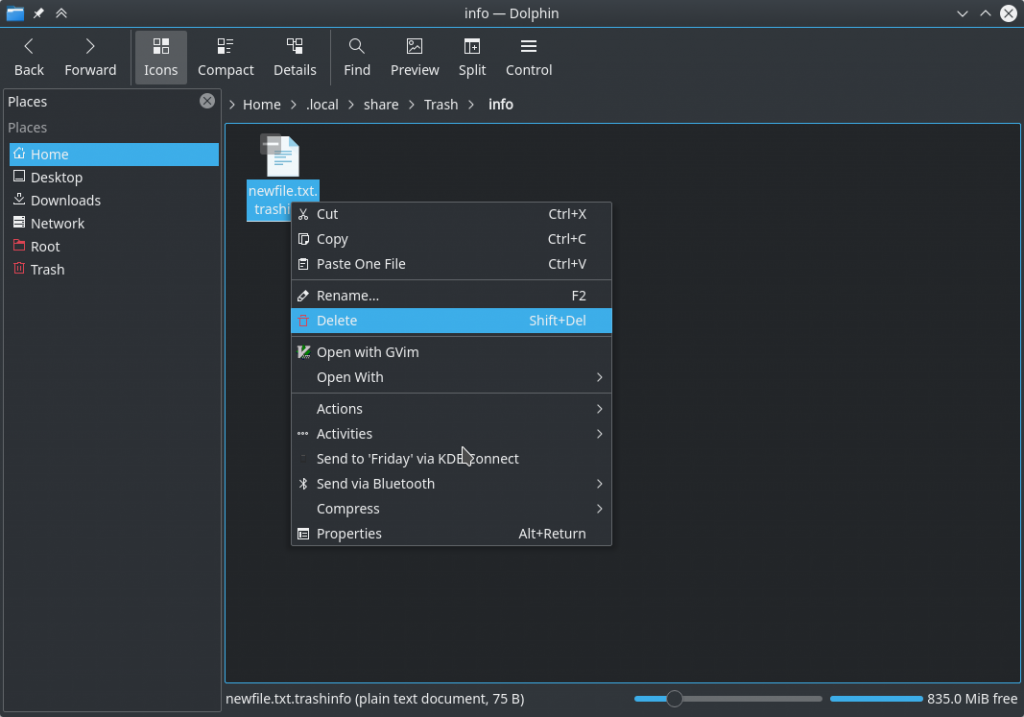
How to reset Minecraft Demo timer without resetting the World – Linux

Note that the following commands have not been tested, but based off of other ones so should work.

Open a terminal and run the following two commands to delete level.dat and level.dat_old

rm ~/.minecraft/saves/Demo_World/level.dat 
rm ~/.minecraft/saves/Demo_World/level.dat_old 

Should be able to open up Minecraft and have the timer reset. Note that all the achievments in the game will be reset as well.

How To Reset root Password on CentOS VM – XenServer

Basic steps are as follows.

  1. Shutdown VM
  2. From XenCenter, insert the CentOS iso into the VM’s Virtual DVD drive.
  3. Boot the CentOS VM in recovery mode.  If you need help with that check this post out.
  4. On the grub menu, select recover OS Installation.
  5. Run through the recovery and mount the VM’s disk where CentOS is installed
  6. You should now be able to drop to a prompt and chroot /sysimage
  7. Change the root password with passwd
  8. Shutdown the VM
  9. Eject the CentOS iso
  10. Boot up the VM and login with the new password

Set static ip address in Ubuntu 19.04

The network configuration settings for the server edition of Ubuntu are now stored in the following location. Create the file if it does not exist.

sudo vi /etc/netplan/01-network-manager-all.yaml

Add or edit the config file to the following. Change eno1 to your interface name and the address and gateway to the appropriate IP’s

For more information, see netplan(5).
 network:
   version: 2
   renderer: networkd
   ethernets:
     eno1:
      dhcp4: no
      addresses: [192.168.200.24/24]
      gateway: 192.168.200.1
      nameservers:
        addresses: [8.8.8.8,8.8.4.4]

Now apply the changes with the following command.

sudo netplan apply

OpenVas set password for user

After installing OpenVAS you may need to setup a user. Running the following command will create the user admin and will print the password for the user below.

openvasmd --create-user admin

Example output.

User created with password 'b4539967-c521-fe41-d255-aeb53e735h9a'.

If needed you can delete a user with the following command

openvasmd --delete-user=USERNAME

Install VirtualBox Guest Addition for Kali Linux

Boot up the virtual machince

Insert the “Guest Additions CD Image…” from the Devices menu

In the VM, open up Files/Nautilus or Dolphin and find the CD. Open a terminal in the same directory and execute the auto run script

sudo sh autorun.sh

It should pop up another window to install the guest additions. After it is installed, you’ll need to reboot the VM for the new changes to take effect.