How to Fix UISP “Application is loading. 1 min remaining…”

After a recent update, UISP may stop working.

If we run sudo ~unms/app/unms-cli status, we receive the following error:

WARN[0000] /home/unms/app/docker-compose.yml: the attribute version is obsolete, it will be ignored, please remove it to avoid potential confusion
Error response from daemon: Container 174b07e5e39d311a326c69497f1b2e1ae0eedcb067c9dada6e546ab556aad371 is restarting, wait until the container is running

It appears that there is a bug upgrading to 2.4.155.
https://community.ui.com/questions/UISP-v2-4-143-and-v2-4-155-UISP-Fails-to-start-Geomagnetism-date-comparison-BUG/0cb32012-9afb-41d4-9f37-6a9ba94c4c36

The Fix

To fix the issue, manually update from the command line again.

sudo ~unms/app/unms-cli update

Collecting Logs

There are a couple ways to check logs. We can view docker logs for specific containers using

docker logs unms

We can collect all of the logs with

sudo tar -cvjSf /tmp/uisp-logs.tar.bz2 /home/unms/data/logs

If you receive an error about bzip2 not being found, either install it sudo apt install bzip2 or change tar to tar -cvz

This will put all the logs in /tmp. You can download them with scp, sftp, winscp or something.

https://help.ui.com/hc/en-us/articles/115015690107-UISP-How-to-Find-Logs-Report-Bugs

How to enable Ping Watchdog on Ubiquiti AirOS from Command Line

Ping Watchdog is a feature that will automatically reboot a device if the specified IP address is unreachable.

Here is a quick run down on enabling Ping Watchdog on Ubiquiti Radios from the command line.

1. SSH into the radio

ssh ubnt@192.168.1.20

2. Edit the config file

vi /tmp/system.cfg

Find the lines that start with pwdog

At a minimum, you will need to change the following two options:

  • pwdog.status to enabled
  • pwdog.host to the IP you want to ping. Add this line if it does not exist.
pwdog.delay=300
pwdog.host=192.168.1.1
pwdog.period=300
pwdog.retry=3
pwdog.status=enabled

You can adjust the other options to your desired taste.

Exit vi by hitting esc then typing in wq then hit Enter

3. Save configuration

Finally, save the configuration changes with

/usr/etc/rc.d/rc.softrestart save

Running tcpdump on Ubiquiti Airmax Equipment

Ubiquiti Airmax gear has tcpdump included. We can easily use it to capture packets to a file and then use SCP from the device to copy the file for analysis.

SSH to the device

ssh ubnt@192.168.1.20
cd /tmp/

Start tcpdump with the following command. Change ath0 and file.cap to the appropriate interface and file name.

tcpdump -i ath0 -w file.cap

After we are done collecting, we can quit with ctrl + c

Now we can use scp or sftp to copy the files off. There is an issue using scp or sftp from a normal Linux machine to the radio, fails with a “sh: /usr/libexec/sftp-server: not found”. It works fine if you initiate scp from the radio.

scp /tmp/file.cap username@remoteip:~/

Ubiquiti U Installer Screenshots and Configuration Interface

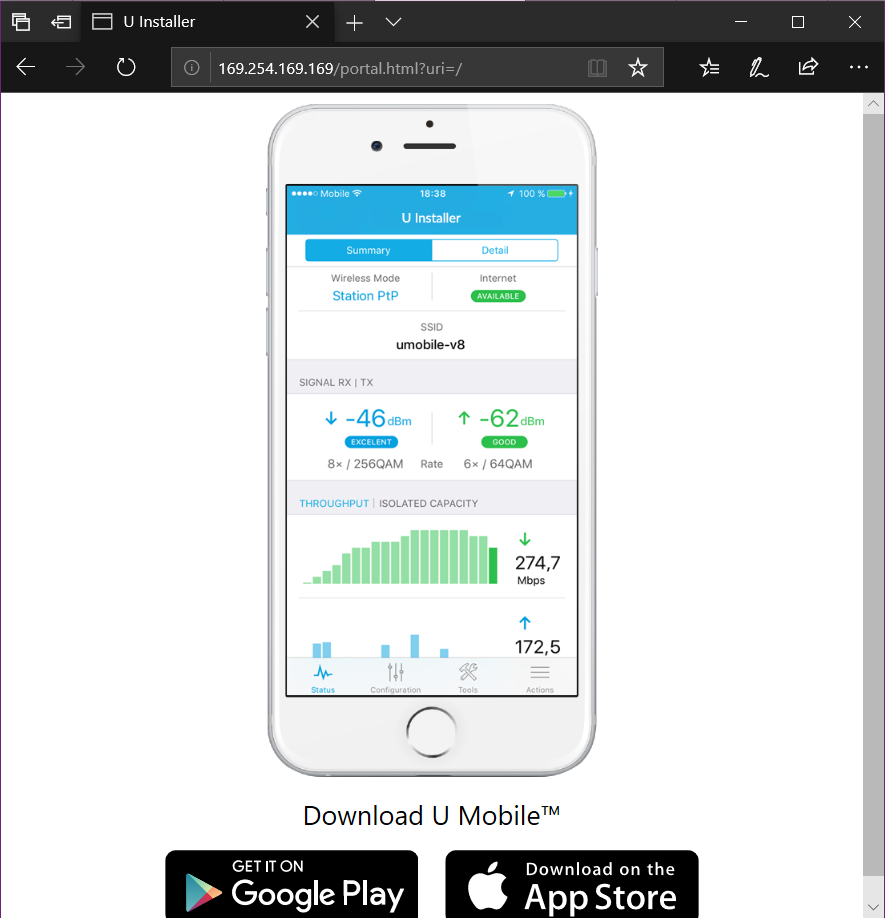
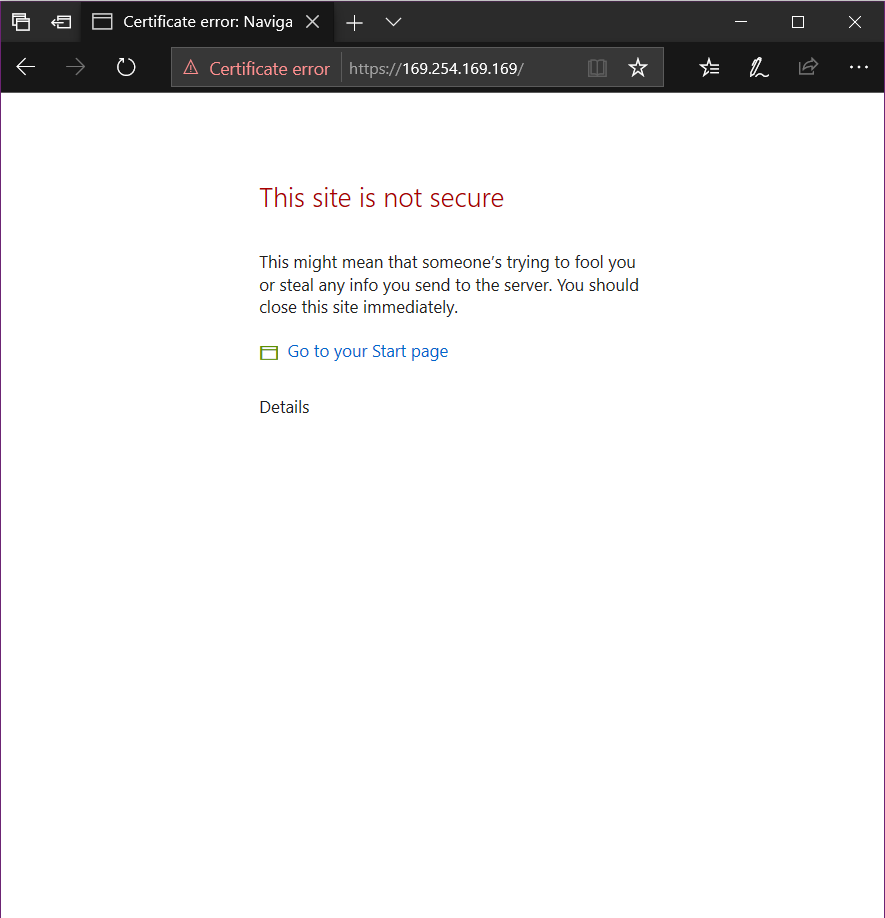
By default the U Installer redirects you to a page asking you to download the app. You can get to the actual U Installer web page by going to https://169.254.169.169

Default U Installer Page
Access U Installer Certificate Error

It has the same interface as a regular Airmax M equipment.

U Installer main page

Change Static IP on AirFiber over SSH

Log into device

SSH into AirFiber

ssh ubnt@192.168.1.20

Modify config file

Open up the “/tmp/system.cfg” configuration file

vi /tmp/system.cfg

Find the line that has the ip address and modify the address.
Note that you’ll need to hit i to enter text if you are using vi

...
netconf.3.hwaddr.status=disabled
netconf.3.ip=192.168.1.10   <-- Change IP here
netconf.3.mtu=1500 
...

Save file by hitting the esc key then type :x and then hit Enter

Save changes and reboot

Now run the following command to write the changes to the device. Once it comes back up it should have the new IP address from the config file.

cfgmtd -f /tmp/system.cfg -w && reboot

Ubiquiti set DHCP from command line

Edit the “/tmp/system.cfg”

Change the line that contains “dhcpc.status=disabled” to

dhcpc.status=enabled

add the following lines

dhcpc.1.devname=br0         
dhcpc.1.fallback=192.168.1.20
dhcpc.1.fallback_netmask=255.255.255.0
dhcpc.1.status=enabled

Save and exit and save changes

/usr/etc/rc.d/rc.softrestart save

Log into the GUI and verify everything looks correct. Under the network tab it was still showing that it had a static address, although it pulled a DHCP IP.

Change Channel Width on Ubiquiti AC CPE Over SSH

SSH into CPE

ssh ubnt@192.168.1.20

open up the “/tmp/system.cfg” file

vi /tmp/system.cfg

Find the “radio.1.chanbw=” line and change to the following

radio.1.chanbw=10

Note: it may say “radio.1.chanbw=0” that looks to be the default and works for 20mhz

exit file with

esc + :wq + Return or Enter

Save settings with

/usr/etc/rc.d/rc.softrestart save 

Change AP to 10Mhz and the CPE should reconnect.

Ubiquiti AirMax – Set radio to use DHCP from command line

Gain access to radio via ssh

ssh ubnt@192.168.1.20

open up the /tmp/system.cfg

vi /tmp/system.cfg

Delete the following line. To move the cursor to the following line and type “dd” and vi will delete the whole line.

dhcpc.status=disabled   

Add the following 5 lines. Hit “i” to enter vi insert mode.
br0 should be correct interface in most scenarios.

dhcpc.1.devname=br0          
dhcpc.1.fallback=192.168.1.20
dhcpc.1.fallback_netmask=255.255.255.0
dhcpc.1.status=enabled
dhcpc.status=enabled

Save the file by hitting esc and then “:wq” followed by Return/Enter

Save the config changes and reboot the radio so it pulls an address.

/usr/etc/rc.d/rc.softrestart save && reboot

Ubiquiti AirOS – “test” changes from command line

The following is a method to recover from a command that may inadvertenly make a radio go offline.

The idea is to launch a process in the background that sleeps for 5 minutes and then reboots the radio, so any changes not saved will be reverted. If the changes were successful, you’ll just need to log back in and kill the background process to keep the device from rebooting.

This can be helpful if your changing networking settings using ifconfig, trying to change routes, or something went wrong while trying to apply a system.cfg setting.

Commands

sleep 300 && reboot &

Execute whatever command you need to. i.e.

ifconfig 192.168.1.100

If your command worked you can log back into the device and search for the process id of the sleep command and kill it so the radio doesn’t reboot.

ps | grep sleep

Example output

2XC.v8.5.12# ps | grep sleep
412 admin 1636 S sleep 500
414 admin 1640 S grep sleep
2XC.v8.5.12#

Kill the pid

kill 412

Remove AirControl provisioning from Ubiquiti radio via SSH

Short version

List AirControl server(s)

mca-provision-list

Remove from AirControl Server

mca-provision-rm http://server-address


Expanded Steps

First you’ll need to SSH into your radio

Example:

ssh ubnt@192.168.1.20

Next run “mca-provision-list” to list the connection(s) the radio has, or is trying to connect to.  If you have had the radio connected to multiple AirControl servers it will show more than one entry.

Example:

XM.v6.1.3# mca-provision-list
unknown @ http://192.168.0.1:9081/AC2/report -
XM.v6.1.3#

To remove, run “mca-provision-rm” with the AirControl address.  You can simple use the “http://server-ip”, shouldn’t have to worry about the port number/AC2/report.

Example:

XM.v6.1.3# mca-provision-rm http://192.168.0.1
Found 1 entries matching 'http://192.168.0.1':
Removing: unknown @ http://192.168.0.1:9081/AC2/report ...
Found Backup1 on[1] ...
Found Active on[2] ...
Storing Active[1] ... [%100]
Active->Backup[2] ... [%100]
done.
XM.v6.1.3#