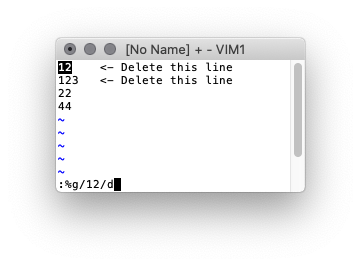
In Vi you can use the following command to search for a pattern and delete all those lines
:%g/pattern-to-search-for/d
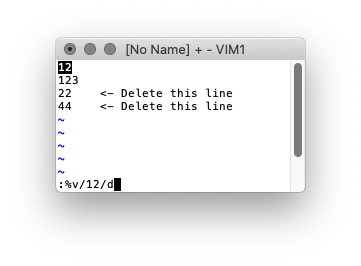
To inverse the operation and delete all lines not matching the pattern, change g to v
:%v/pattern-to-search-for/d
In Vi you can use the following command to search for a pattern and delete all those lines
:%g/pattern-to-search-for/d
To inverse the operation and delete all lines not matching the pattern, change g to v
:%v/pattern-to-search-for/d
The LuminOx Oxygen sensor seems to be a pretty decent O2 sensor and easy to get setup and running.
Pin | Designation |
1 | Vs (+5V) |
2 | GND (0V) |
3 | 3.3V UART* Sensor Transmit |
4 | 3.3V UART* Sensor Receive |
* 5V tolerant |
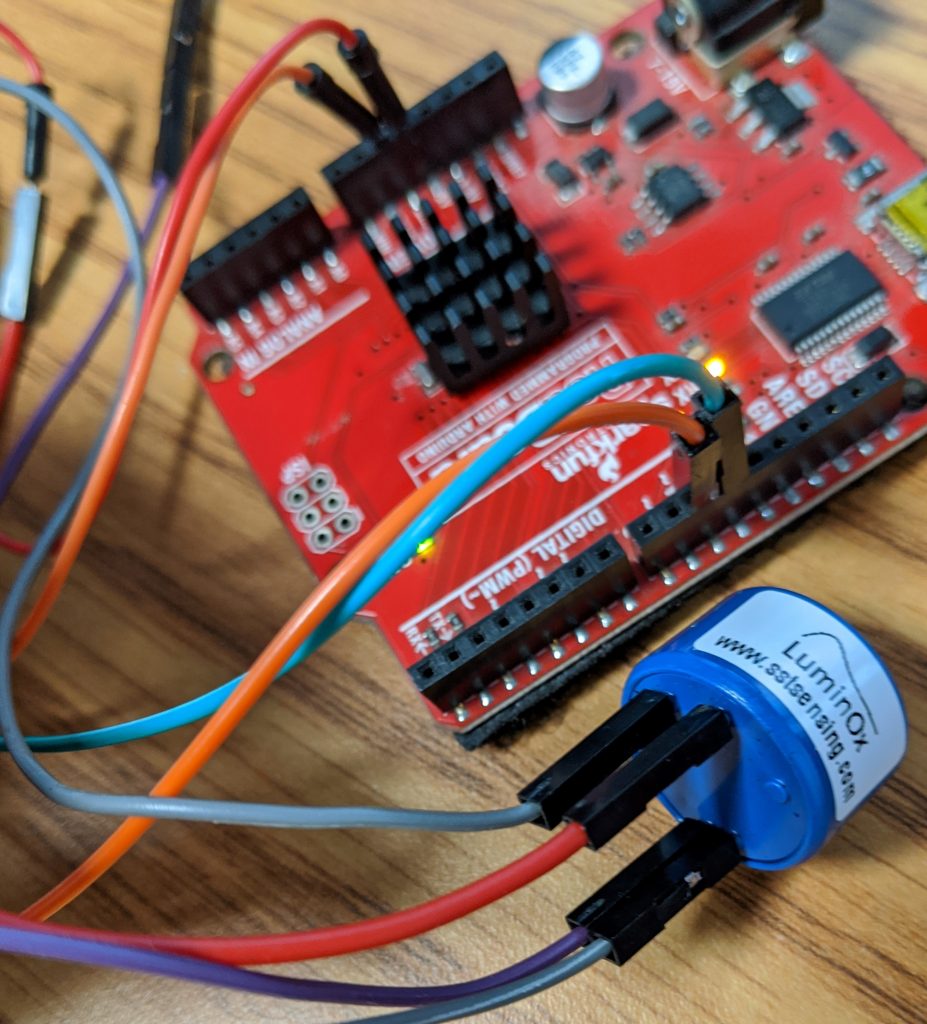
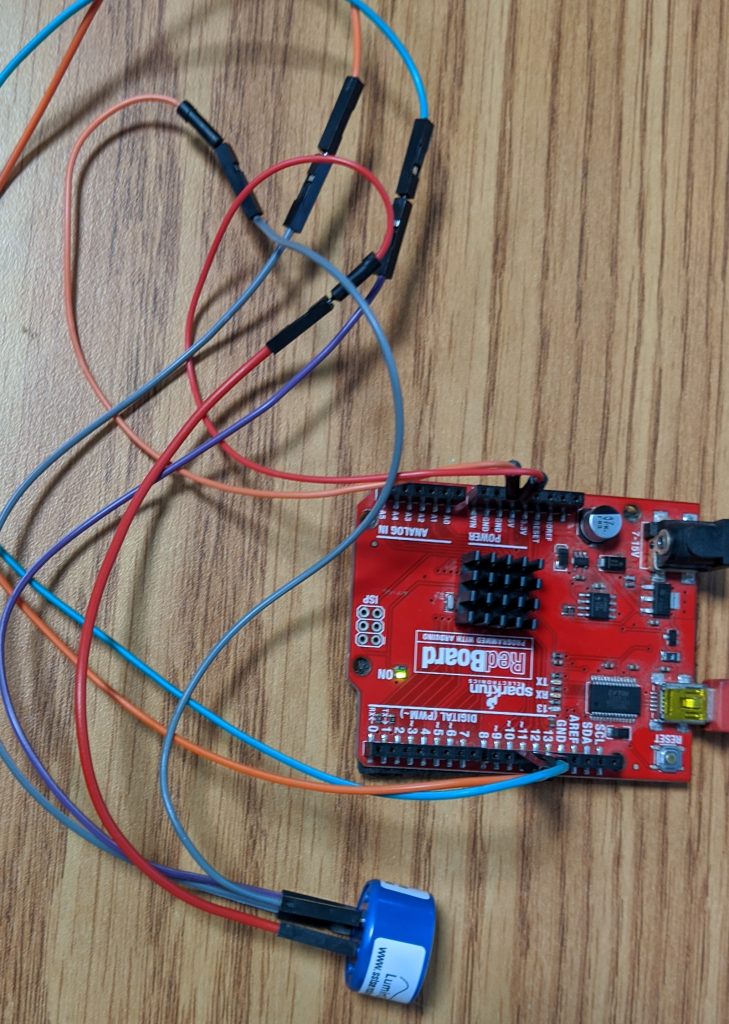
Fortunately wiring up the LuminOx O2 Sensor to an Arduino is super easy
In the code example below we will use pins 10 and 11 to communicate with the sensor. So you can wire it up as follows
sensor pin 1 -> 5V power
sensor pin 2 -> Ground
sensor pin 3 -> pin 10
sensor pin 4 -> pin 11
Should be able to just copy and past the code into the arduino editor and upload it.
#include <SoftwareSerial.h> SoftwareSerial mySerial(10, 11); // RX (O2 Pin 3), TX (O2 Pin 4) void setup() { Serial.begin(9600); mySerial.begin(9600); } void loop() { if (mySerial.available()) { Serial.write(mySerial.read()); } }
Open up the serial console to view the sensor output
Helpful links
Datasheet: https://www.sstsensing.com/product/luminox-optical-oxygen-sensors-2/
Arduino forum: https://forum.arduino.cc/index.php?topic=601622.15
Sketch uses 444 bytes (1%) of program storage space. Maximum is 32256 bytes.
Looks like this can randomly happen. Things to try to resolve the problem
More information here
https://arduino.stackexchange.com/questions/23620/problem-uploading-to-arduino-uno
In the Outlook “Tell me what you want to do” search area, type COM Add-ins and Launch the COM Add-ins
Find the Add-in and remove it
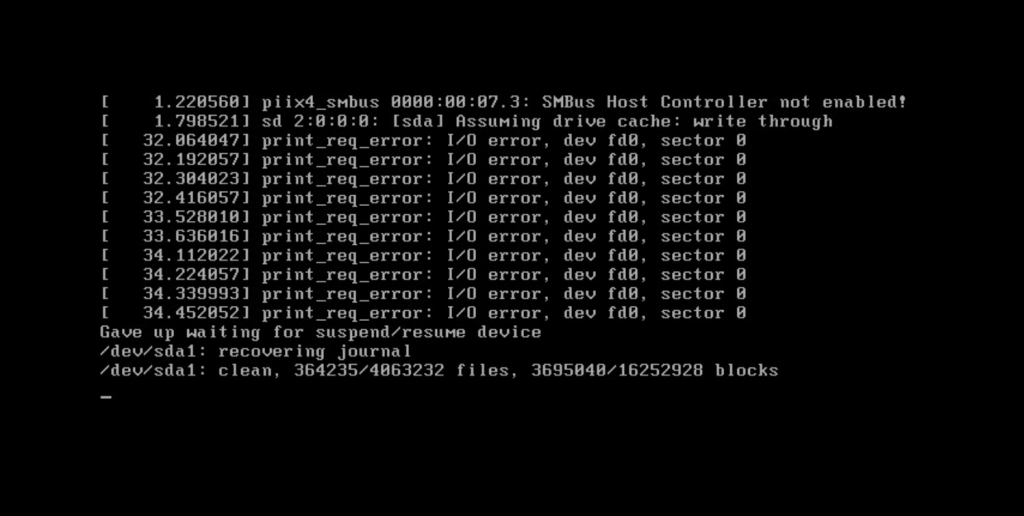
More info here https://askubuntu.com/questions/1102580/print-req-error-i-0-error
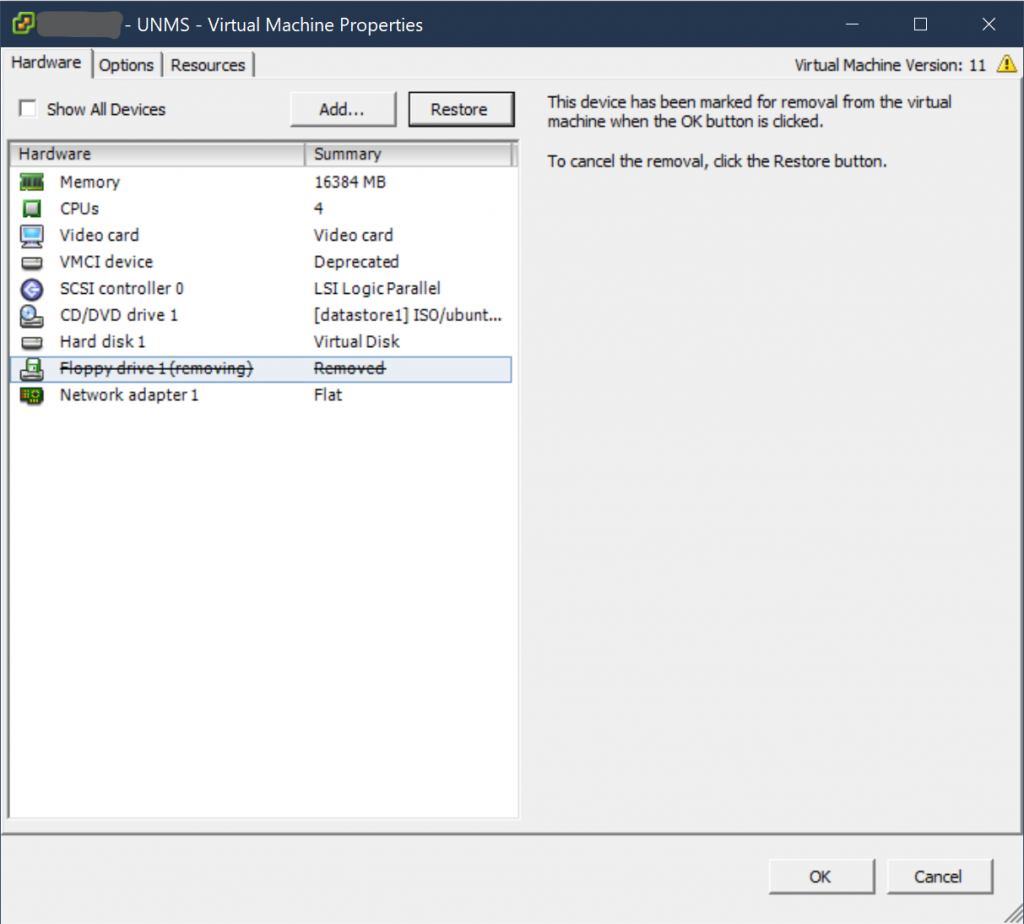
Looks like the following error is due to there not being a floppy drive.
print_req_error: I/O error, dev fd0, sector 0
Disabling the Floppy Drive in the vSphere VM settings resolves the problem.
https://www.howtogeek.com/325347/how-to-enable-microsofts-precision-touchpad-drivers-on-your-laptop/
Download and extract the Lenovo driver
https://download.lenovo.com/pccbbs/mobiles/n1mgx14w.zip
Open Device manager, right click on the touchpad and select Update driver
Browse My computer for Driver Software
Let me pick from a list of available drivers on my computer
On the pop up select have disk
Navigate to the extracted Lenovo driver and select Autorun.inf
Open, select next, install, accept the warning
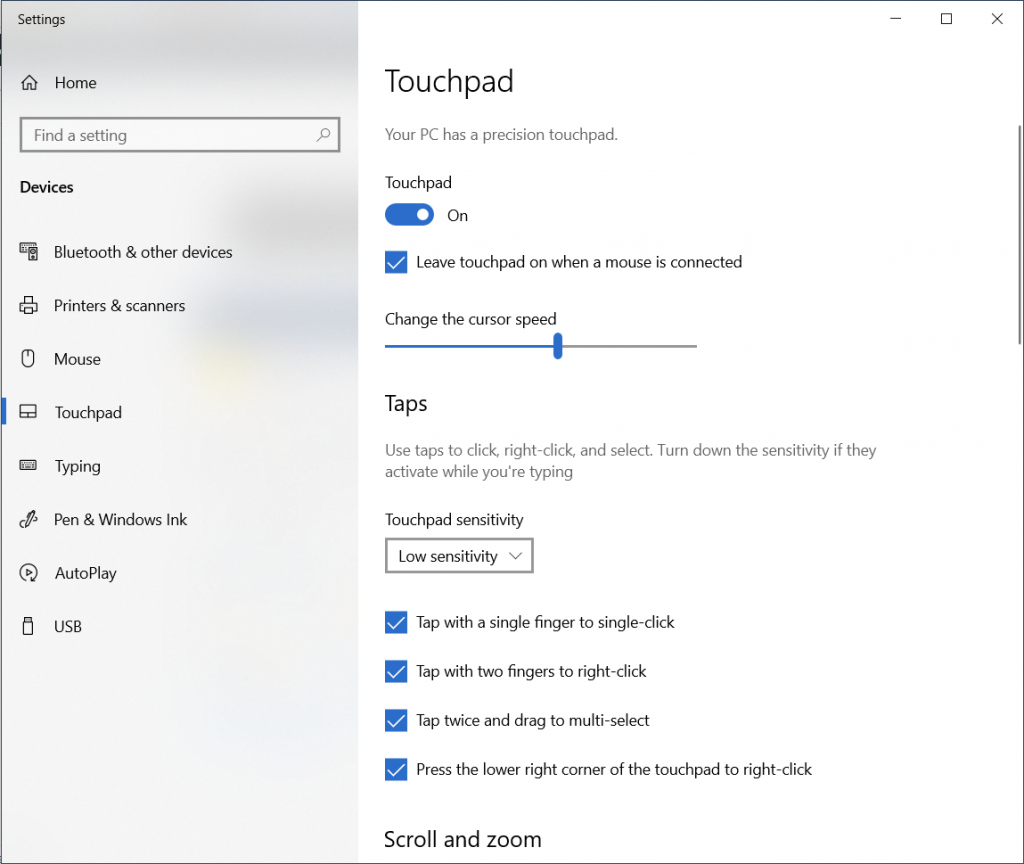
After you restart your computer you can go to the Windows settings and tweak the precision settings
Other interesting touch pad stuff
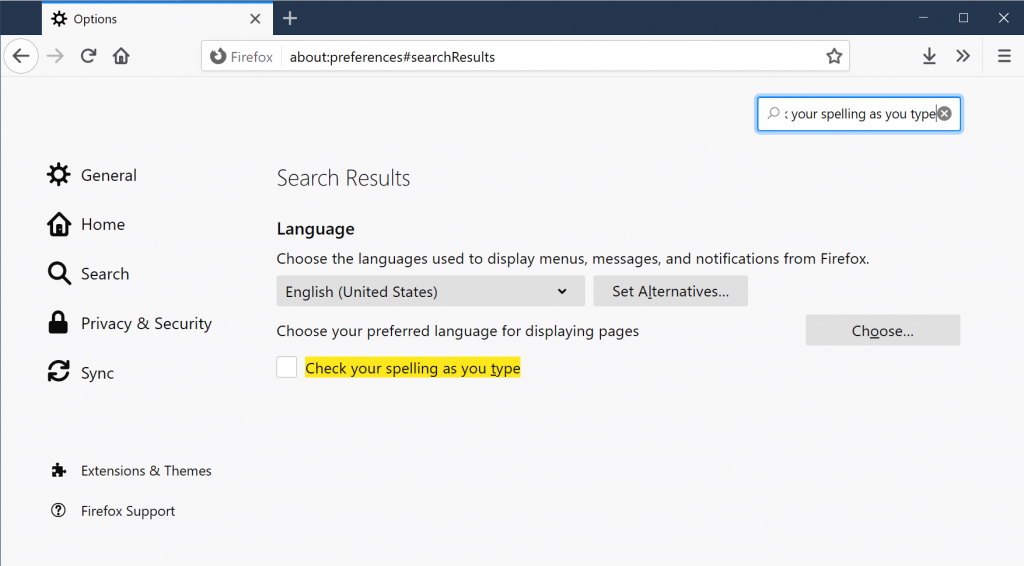
.Open a new tab and go to about:preferences.
Search for “Check your spelling as you type” and make sure it is enabled.
You will need to refresh any open web pages to start spell checking on that page.
https://github.com/SeeedDocument/Seeed-WiKi/blob/master/docs/Grove-Gas_Sensor-O2.md
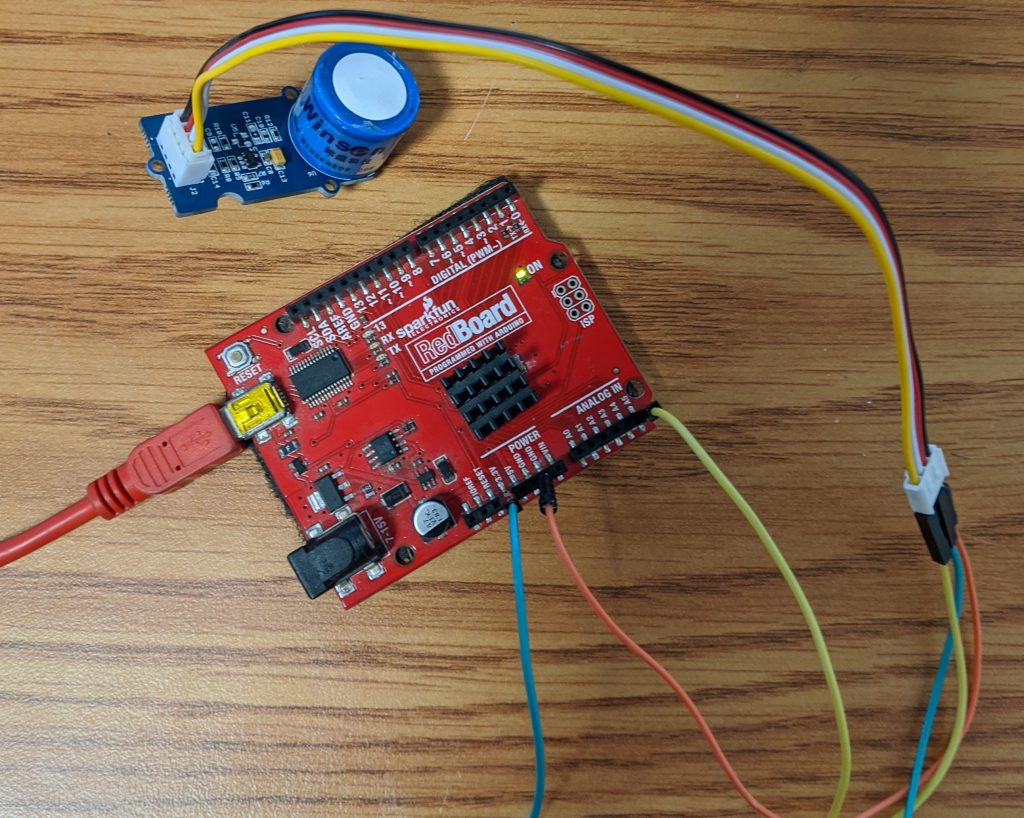
The Seeed Studio O2 sensor is a nice Oxygen sensor. It works up to 25% Oxygen concentration and is easy to use in an Arduino project.
http://wiki.seeedstudio.com/Grove-Gas_Sensor-O2/
If you look on the back of the sensor there are only 3 wires used. VCC, GND, and a SIG. The NC pin is “Not Connected”
Wire the
GND -> Arduino ground
VCC -> Arduino 3.3V (Looks like it may also accept 5V)
SIG -> A5 (Analog 5)
Copy and paste the following code into the Arduino IDE
// Grove - Gas Sensor(O2) test code // Note: // 1. It need about about 5-10 minutes to preheat the sensor // 2. modify VRefer if needed const float VRefer = 3.3; // voltage of adc reference const int pinAdc = A5; void setup() { // put your setup code here, to run once: Serial.begin(9600); Serial.println("Grove - Gas Sensor Test Code..."); } void loop() { // put your main code here, to run repeatedly: float Vout =0; Serial.print("Vout ="); Vout = readO2Vout(); Serial.print(Vout); Serial.print(" V, Concentration of O2 is "); Serial.println(readConcentration()); delay(500); } float readO2Vout() { long sum = 0; for(int i=0; i<32; i++) { sum += analogRead(pinAdc); } sum >>= 5; float MeasuredVout = sum * (VRefer / 1023.0); return MeasuredVout; } float readConcentration() { // Vout samples are with reference to 3.3V float MeasuredVout = readO2Vout(); //float Concentration = FmultiMap(MeasuredVout, VoutArray,O2ConArray, 6); //when its output voltage is 2.0V, float Concentration = MeasuredVout * 0.21 / 2.0; float Concentration_Percentage=Concentration*100; return Concentration_Percentage; }
Upload and Launch the Serial Monitor
Tools -> Serial Monitor
or
Ctrl + Shift + M
Need to Specify the serial input
Start the serial connection
Print input to log
// Set analog pin variable const int aPin = A0; void setup() { // Start Serial connection Serial.begin(9600); } void loop() { // Print analog input to Serial Monitor Serial.println(analogRead(aPin)); }
https://arduino.stackexchange.com/questions/601/grove-sensors-without-a-grove-shield
Using an O2 Sensor which has the following connections