An upgrade from ‘disco’ (19.04) to ‘focal’ (20.04) is not supported with this tool.

Unfortunately once a version of Ubuntu becomes unsupported you can run into problems upgrading to the latest version. As is the case when you try to upgrade disco to focal. Ubunut 19.04 to 20.04.

A work around is to update the apt sources and then run an update

Update Apt Sources with.

sudo sed -i 's/disco/focal/g' /etc/apt/sources.list

Now Upgrade with the following two commands.

sudo apt update
sudo apt -y dist-upgrade

More info at the following link.

https://www.knowledgepublisher.com/article/1452/solution-an-upgrade-from-disco-to-focal-is-not-supported-with-this-tool.html

Troubleshooting DNS CPU Usage on Mikrotik Router

Problem : Lots of CPU utilization. Profile shows a good bit of it is DNS related.

DNS eating CPU on Router

The router is setup to allow DNS to pass through to web servers so rDNS and other records can be looked up and resolved. This is a specific IP block that gets it’s addresses from the router. The firewall rules explicitly allow this address range. We’ll say 192.168.88.0/24, and blocks everything else. This works for the web servers. But why are we still getting a bunch of CPU utilization with DNS?

As it turns out, the firewall rule that allows the server address range also includes routers own address! So we have unintentionally whitelisted DNS access to our router.

To resolve the issue we can add another firewall rule that explicitly blocks DNS traffic to the routers IP address. We are using two rules, one to block TCP and the other UDP.

ip firewall filter add chain=input dst-address=192.168.88.1 protocol=6 dst-port=53 in-interface-list=WAN action=drop
ip firewall filter add chain=input dst-address=192.168.88.1 protocol=17 dst-port=53 in-interface-list=WAN action=drop

Rules 6 & 7 are the two new rules we just applied. 14 & 15 block input to the router, however rules 8 & 9 inadvertently allowed access to the router’s public IP.

Firewall Rules for Router

The Result? Our CPU usage dropped!

CPU Usage dropped after adding DNS firewall rules.

Quite dramatically too as the following LibreNMS screenshot shows.

LibreNMS CPU graph showing the overall CPU utilization improvement

For more information about DNS Amplification attacks, refer to the following links.

https://ask.wireshark.org/question/6865/dns-amplification-attack/
https://security.stackexchange.com/questions/237127/why-would-hackers-attack-a-dns-server-with-a-dos

Nanominer – Lower intensity for GPU

https://help.nanominer.org/article/168-gpu-and-cpu-control

By default Nanominer sets the memTweak option to 1. This slightly improves memory timings. However it introduces a little bit of UI lag. This can be a problem if you are trying to use your computer for other tasks. The simple resolution is to change/add the memTweak setting to 0.

memTweak=0

Example config

wallet = WALLET_ADDRESS
; Coin to mine.
coin = ETH
; (Optional) Rig (worker) name.
rigName = EthMiner
memTweak=0

Differences between Windows Explorer and macOS Finder

The idea behind this post is to explore some of the differences between both File Explorer and Finder and bring out some of the Pros and Cons of each. They both accomplish the task they need to, so which one is “better” is largely going to be up to your personal preference.

Copying, Moving Files

Finder

Deleting multiple files results in a list of files waiting to be deleted till the first task gets completed. Can cause issues if the first folder you are trying to delete has some file that is not available or something and holds up the rest of the deletes till you confirm, skip etc.

File Explorer

I personally really like being able to see the speed the file(s) are transferring at.

Sorting Files and Navigation

Both file browsers sort files and folders differently by default. Note, it looks like recent versions of Windows have changed this to be similar to like it is in Finder.

Finder – List folders and files together
Explorer – Generally folders are at the top, files underneath

I have mixed feelings on this. At times I do like that all my folders are at the top so when I am navigating somewhere I don’t have to go scrolling down to locate them. However it is nice to have them together alphabetically so if you comparing if you have a zipped and unzip file, they are right next to each other.

I do like in Finder how you can view the hierarchy side by side in columns. Makes navigating the filesystem easy.

Other random notes

Finder

Pros

CMD + Shift + G is super handy and nice that it has tab completion.

Zipping and unzipping files is awesome and simple in Finder. Don’t have to go through any “complicated process” of unzip file, pick location, unzip and open that location and now you have two windows open etc.

Cons

Doesn’t give you a warning when you are about to open up a ton of files that will slow your computer down.

I seem to have random issues with Finder when working with external drives. Seems like using the command line to run a rm command can be faster then deleting in Finder. Not sure if it is a Finder issue or my extra drives.

Explorer

Pros

Generally very powerful. Lots of options.

I like how the properties option is at the bottom of the menu when you right click on a file.

Gives you a warning or just doesn’t open the files when you select a ton of files and hit enter

Cons

Can be slow when there are tons of files in a folder which can be extremely frustrating.

It is interesting the differences between MacOS and Windows. Apple it seems limits what they work on and do a good job what they do work on. However there are those cases where it appears that they didn’t try programming any safe guards in (i.e. No warning about opening up a ton of files at once).

At the end of the day both Windows Explorer and macOS Finder work well and get the job done.

Kali Linux Hash Sum Mismatch while doing apt update

https://askubuntu.com/questions/1235914/hash-sum-mismatch-error-due-to-identical-sha1-and-md5-but-different-sha256

Looks like the problem is caused by the Windows Hypervisor Platform. Work around is to disable it.

In the Start menu search for “turn Windows features on or off”

Once open, disable “Virtual Machine Platform” and “Windows Hypervisor Platform”

Disable Virtual Machine Platform

You will need to reboot after it finishes.

Ubiquiti U Installer Screenshots and Configuration Interface

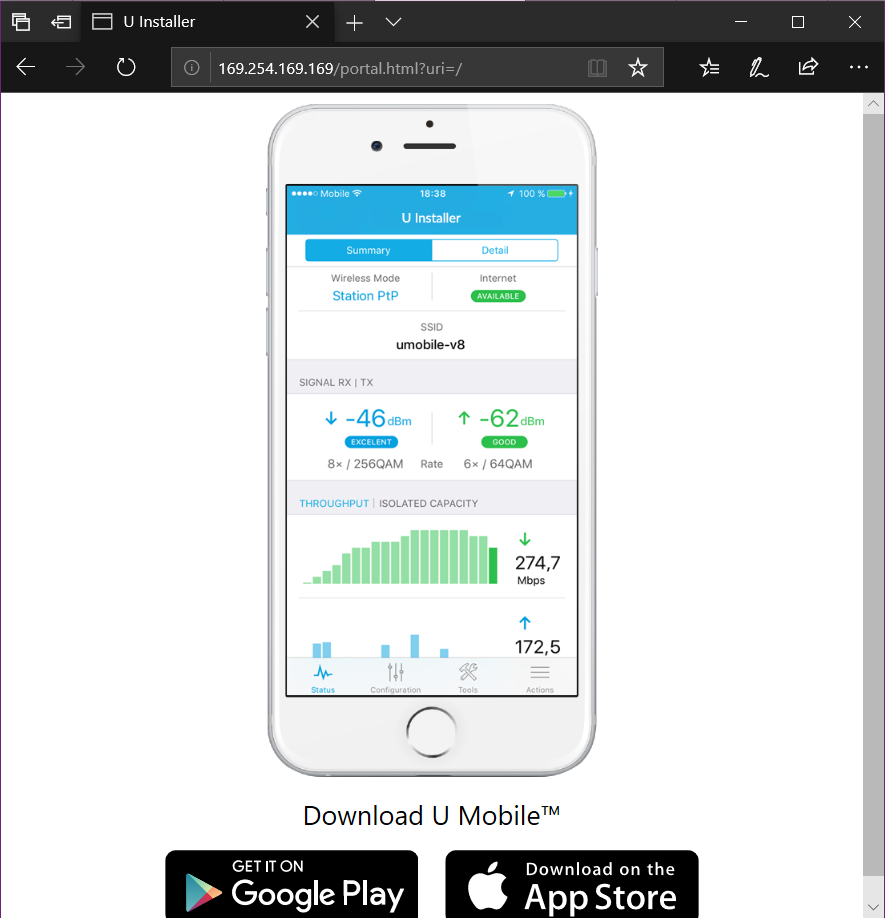
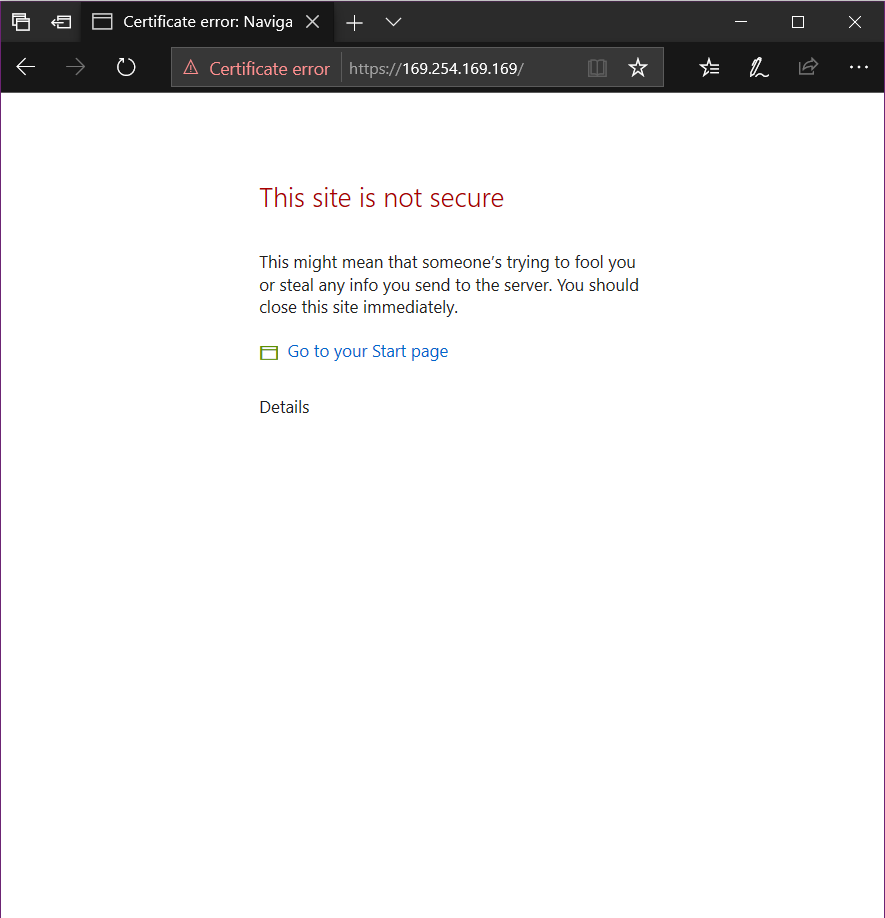
By default the U Installer redirects you to a page asking you to download the app. You can get to the actual U Installer web page by going to https://169.254.169.169

Default U Installer Page
Access U Installer Certificate Error

It has the same interface as a regular Airmax M equipment.

U Installer main page

Unknown “Program” in Startup Programs – Windows 10

Which start up program is this? Did I install it???

Unknown Startup Program

Enabling the Command line view will show us the location of the executable. Right click on the Top Row and Check “Command line”

Enable Command line

From the Command line column we see that the program is Tomboy

Command line shows us the location of the executable

Notes on OLED on Linux

OLED screens have had issues on Linux. Main problem is unable to control the screen brightness. It looks like there are some ways to do it now

Looks like icc-brightness should help. Install instructions are from here

sudo apt install -y liblcms2-dev
git clone https://github.com/udifuchs/icc-brightness.git
cd icc-brightness
make

You can run the utility with

./icc-brightness

Installing it will set it up to automatically run on log in.

sudo make install

Log out and back in and it should work.

https://appaper.com/oled-laptop-screen-brightness-control-linux/
https://www.reddit.com/r/linux/comments/cmf0vi/the_state_of_oled_brightness_on_linux/

Android Button – Remove Shadow and Border from Button with Image on it

We can remove the border and shadows from a button by adding the following style code in your activity_main.xml file. Or what ever your XML file is.

style="?android:attr/borderlessButtonStyle"

Code for button. We are setting an image as the background.

  <Button
        android:id="@+id/button"
        style="?android:attr/borderlessButtonStyle"
        android:layout_width="48dp"
        android:layout_height="48dp"
        android:background="@drawable/gear"
        android:onClick="launchSettings"
        android:textSize="12sp"/>

Comparison of buttons. One on the left still has the shadow on it

Difference between border and borderless buttons

More info here

https://stackoverflow.com/questions/28756035/how-to-remove-button-shadow-android
https://stackoverflow.com/questions/27867284/remove-shadow-effect-on-android-button/30856094